Comic Page Layout and Lettering: Make Panels Easy to Read
Make comic pages readable with clear panel order, deliberate sizing, useful spacing, and dialogue balloons that point to the right speaker. A practical Comic Studio guide.
AD
Ankitraj Dwivedi
Co-founder and screenwriter
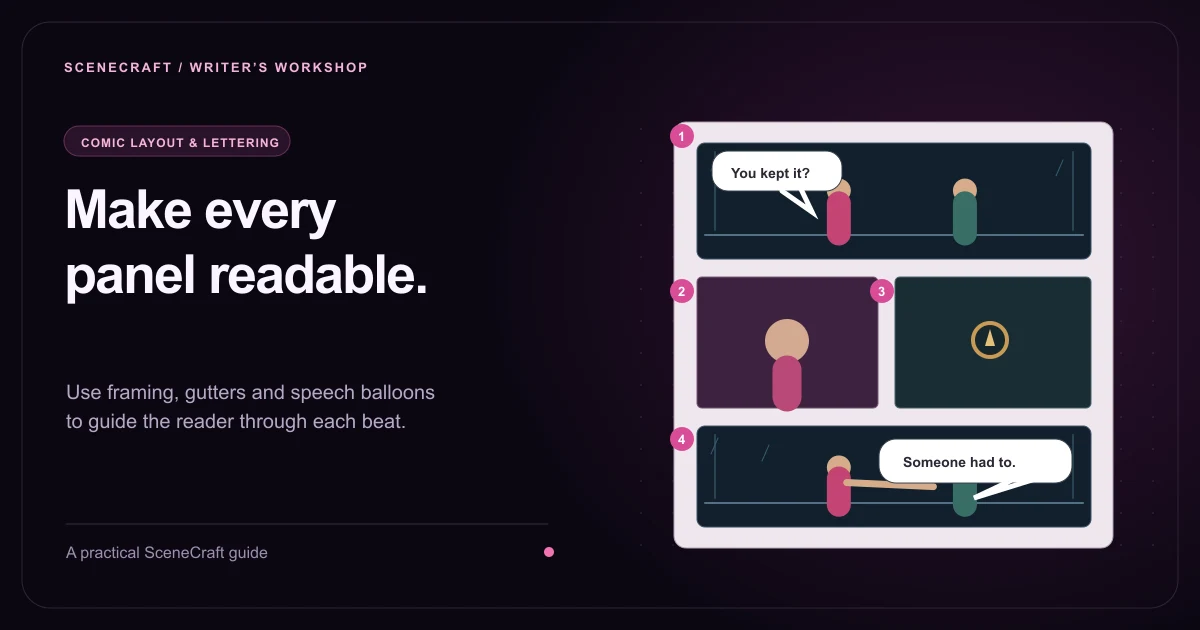
A strong illustration can still produce a confusing comic page. The reader might look at the reveal before the setup, mistake a balloon’s speaker, or miss a meaningful expression hidden under a caption. Layout and lettering decide when information arrives. If a reader has to stop and decode the page, the scene’s tension loses momentum.
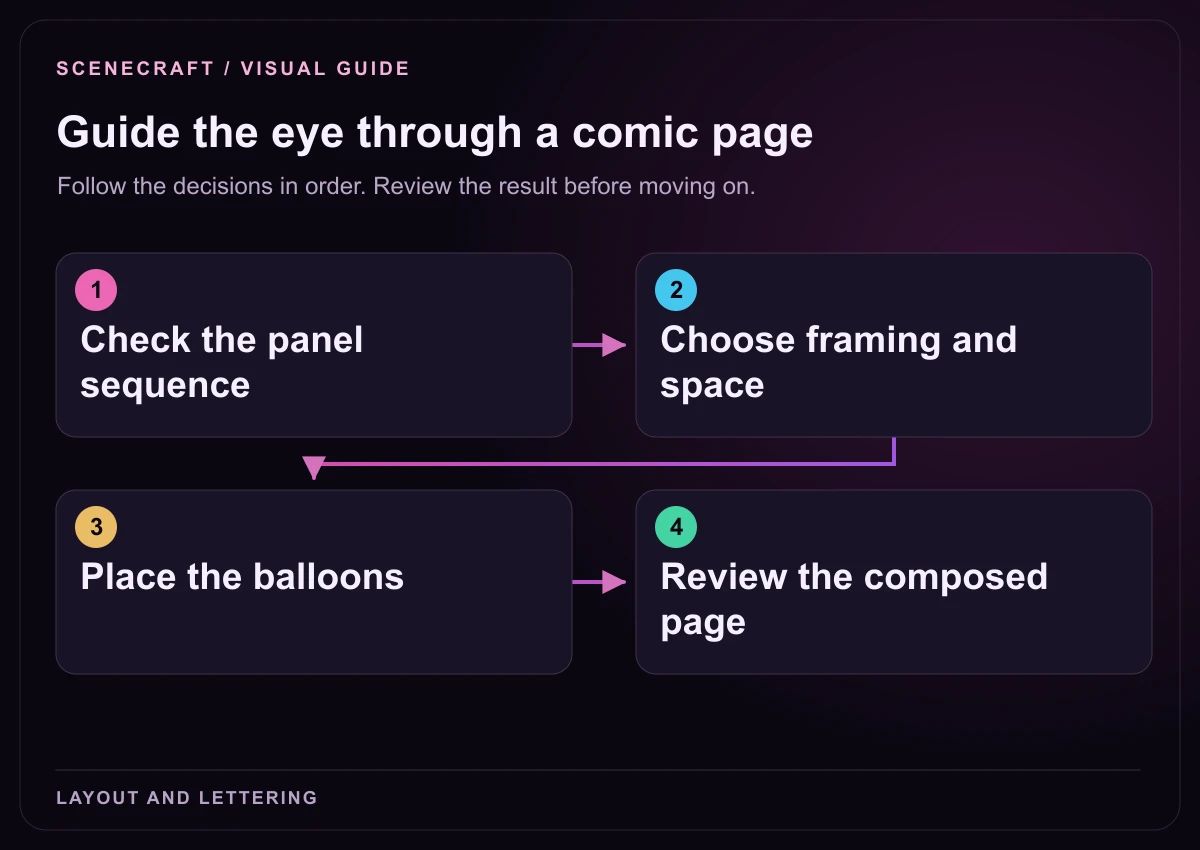
1. Check the panel sequence: Make the next moment easy to find. 2. Choose framing and space: Protect faces, actions and key objects. 3. Place the balloons: Keep dialogue order and tails clear. 4. Review the composed page: Check realistic size before exporting.
Panel order and page layout solve different problems
Panel order determines what happens first, next, and last. Page layout determines how much attention and space each moment receives. A small panel might carry a quick glance; a wider panel can establish a location or hold a decisive action. Size should follow the scene’s emphasis rather than giving every image equal room.
For a comic intended to read left to right, begin with a clear left-to-right, top-to-bottom sequence. More unusual layouts can work, but test whether a new reader can identify the next panel without instruction. A clear grid is a useful starting point while you learn how your scene plays on the page.
Open the composer after the panel sequence works
In SceneCraft, open Projects → your project → Editor, select the scene, and use Visuals → Comic Studio. Open a comic version with rendered panels, then choose Compose the pages. If you are adapting a script for the first time, follow the screenplay-to-comic book guide before adjusting page design.
The composer can split the scene’s panels across multiple physical pages. Use Designs to try a suggested arrangement, then move and resize panels on the canvas. Adjust borders, panel spacing, and the page background when they improve separation or emphasis. Keep the script visible beside the page when you want to check an action or copy dialogue.
A large final panel can emphasize a reveal when the preceding panels set it up. Read the page in order after each major layout change.
Use five layout decisions to control attention
Decision
Useful when
Check before saving
Wide establishing panel
The reader needs to understand the place or distance between characters.
The setting is legible and the next panel is easy to identify.
Small reaction panel
A glance or brief change of expression matters between larger actions.
The face remains readable at the size readers will see.
Larger turning-point panel
A choice, reveal, or confrontation changes the scene.
The important gesture has room and is not covered by lettering.
Visible panel spacing
Neighboring images need clear separation.
The gap separates moments without making the reading route ambiguous.
A page break
A beat needs more room or a reveal should follow a pause.
The previous page ends with a useful question and the next answers it.
Tighter gutters can suit an action sequence, although touching panels are harder to separate when backgrounds look similar. More room around a quiet exchange can give the reader a pause. Compare versions at a realistic viewing size.
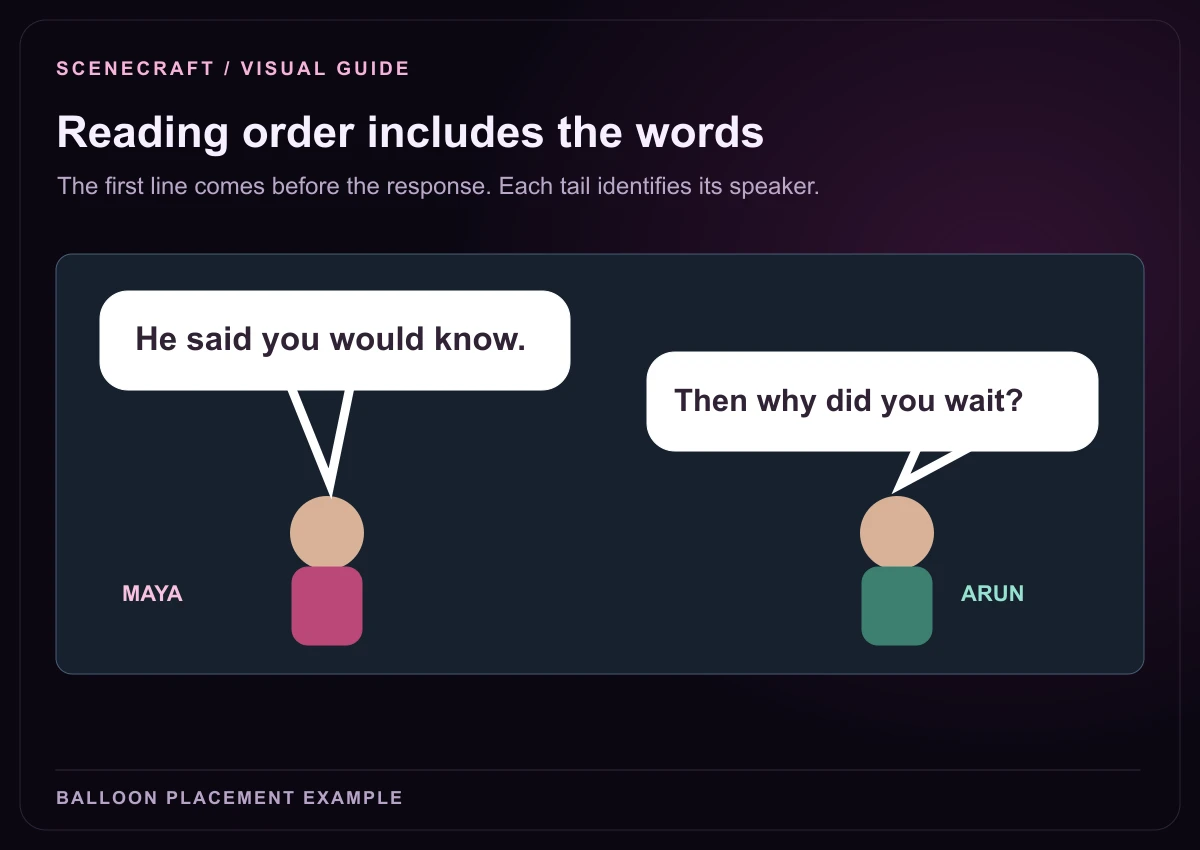
Check dialogue order alongside panel order. The first balloon introduces the exchange; the reply follows it; each tail identifies the correct speaker.
Frame the action before you place the balloons
The composer lets you adjust a panel’s framing and zoom inside its slot. Use those controls to preserve the face, hand, or object carrying the beat. Making a slot wider can crop a tall image differently; making it smaller can hide a detail that was obvious in the original render.
For a reunion scene, Maya’s hand holding a compass may be more important than the full platform behind her. Keep the compass and her gesture visible before adding dialogue. If the image does not contain the necessary information, change the panel prompt and regenerate that panel. Cropping cannot restore an action that was never drawn.
Lettering example: let the reader hear the right line first
Imagine a panel where Maya stands on the left and Arun stands on the right. Maya says, “He said you would know.” Arun answers, “Then why did you wait?” If Arun’s balloon sits above Maya’s, the answer may be read before the line that prompts it. Move the balloons so the exchange has an obvious first line and response.
Open the panel’s lettering editor to add or adjust Dialogue, Caption, and SFX elements. Drag a balloon to move it, resize it when the text needs room, and point the tail toward the intended speaker. Speech, thought, shout, and whisper styles can communicate delivery; use the style that matches the scene rather than changing it for decoration.
Keep Maya’s compass and both expressions visible. Place a location caption where it establishes the station without explaining the emotional exchange. If the scene contains a silent hesitation, let the image carry it instead of inserting a caption that tells the reader what Maya feels.
Read the balloons in order. Check whether the first line, answer, and final response are immediately clear.
Trace each tail. Confirm the tail points toward its speaker and does not cross another balloon or obscure a face.
Check the text box. Resize or shorten an overfull balloon rather than making every line tiny.
Keep emphasis selective. A large sound effect should serve a real action and leave the key image readable.
Separate a lettering draft from the finished image
Save draft preserves your lettering work in progress. Save & bake creates the panel image with the lettering applied. The composer also supports captions and balloons on the assembled page, which is useful when a text element needs to sit across the page rather than inside one panel.
When a baked panel contains text that needs changing, return to that panel’s lettering editor. Moving its slot in the composer moves the image, including the text already baked into it. After the lettering is correct, return to the composer and compose and save the updated pages.
Choose a page target, then check the exported result
Page setup includes screen and print size presets, with trim and safe-area guides for applicable print layouts. Keep essential faces, dialogue, and captions within the safe area. Place decorative backgrounds with the chosen page geometry in mind; a full-bleed look still needs readable content away from the edge.
Compose and save the pages before choosing Use for export on the intended comic version. Then open Export → Comic book (PDF). The book uses composed pages in scene order, and scenes without composed pages are omitted. Review the complete PDF rather than assuming the editing canvas proves every page is ready.
AI planning and artwork generation are premium operations with credit estimates. Adjusting a layout or correcting an existing balloon usually addresses a different problem from generating a new illustration. Decide whether the issue belongs to the picture, the page arrangement, or the words before starting another render.
A final pass that catches the common problems
Follow the reading path. Look at the page without reading dialogue first; verify that the sequence of images is clear.
Protect important details. Check that crops and balloons leave the action, faces, and signature props visible.
Keep identities recognizable. Compare neighboring panels against the active avatar and current outfit. The character consistency guide helps with this pass.
Check every physical page. Avoid squeezing a long scene into a crowded single page merely because its plan belongs to one scene.
Confirm versions and completeness. Save composition changes, select the version you intend to export, and investigate missing-scene counts.
Frequently asked questions
How many panels should a comic page have?
Use enough panels to communicate the necessary beats while keeping the artwork and dialogue readable. There is no single count that suits every scene. Split a longer sequence across pages instead of shrinking its important details.
Can I change the layout after generating comic panels?
Yes. Compose the pages lets you move and resize panel slots, change framing, and distribute panels across physical pages. Generate new artwork only when the illustration itself needs to change.
Can I edit speech balloons and their tails?
Yes. The lettering editor lets you edit dialogue, move and resize balloons, and adjust tails. Check reading order and speaker assignment before using Save & bake.
What is the difference between Save draft and Save & bake?
Save draft preserves the editable lettering layout. Save & bake applies that lettering to the panel image. Compose and save the pages afterward when the assembled page needs updating.
Can SceneCraft publish my comic directly to a marketplace?
The workflow described here exports a comic book PDF. Page size presets and guides help prepare the layout, but exporting does not submit or publish the book to a marketplace.